


Sweet and tangy, kiwi is refreshingly delicious—and one of the best things about it is that you can eat it straight after peeling. I usually take the easy route: cut it in half with the skin still on and scoop it out with a spoon. But this time, I wanted to try something a little more creative! So I asked fruit cutting designer Sawako Nashimizu to teach me a cutting method that’s both simple and stylish—just what I was looking for!
share:


Table of Contents
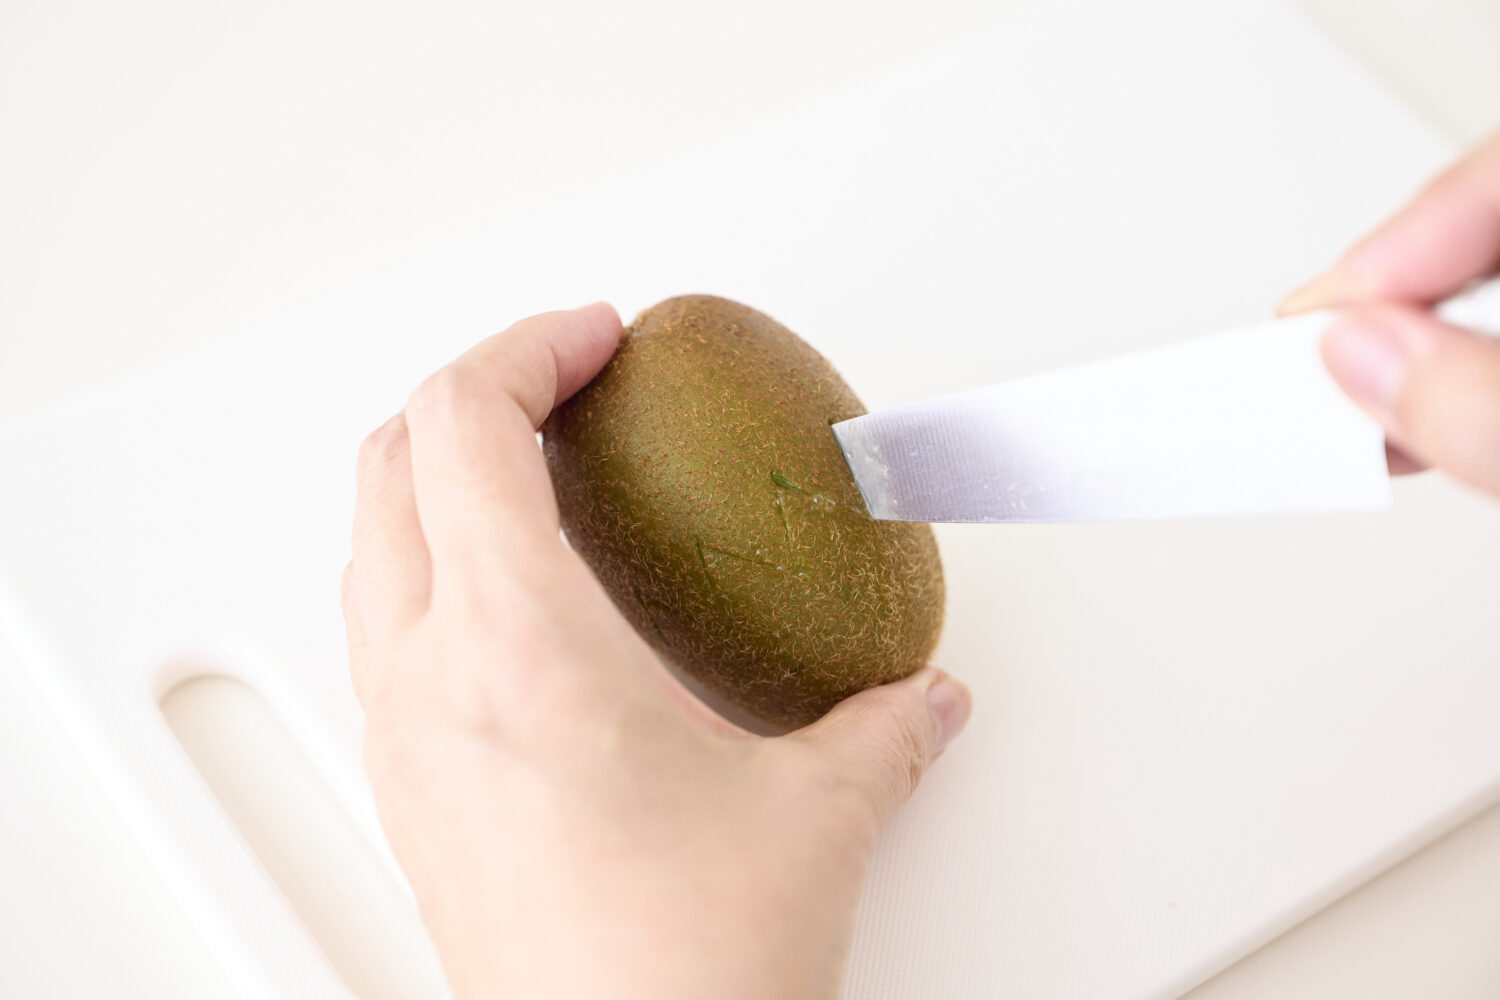
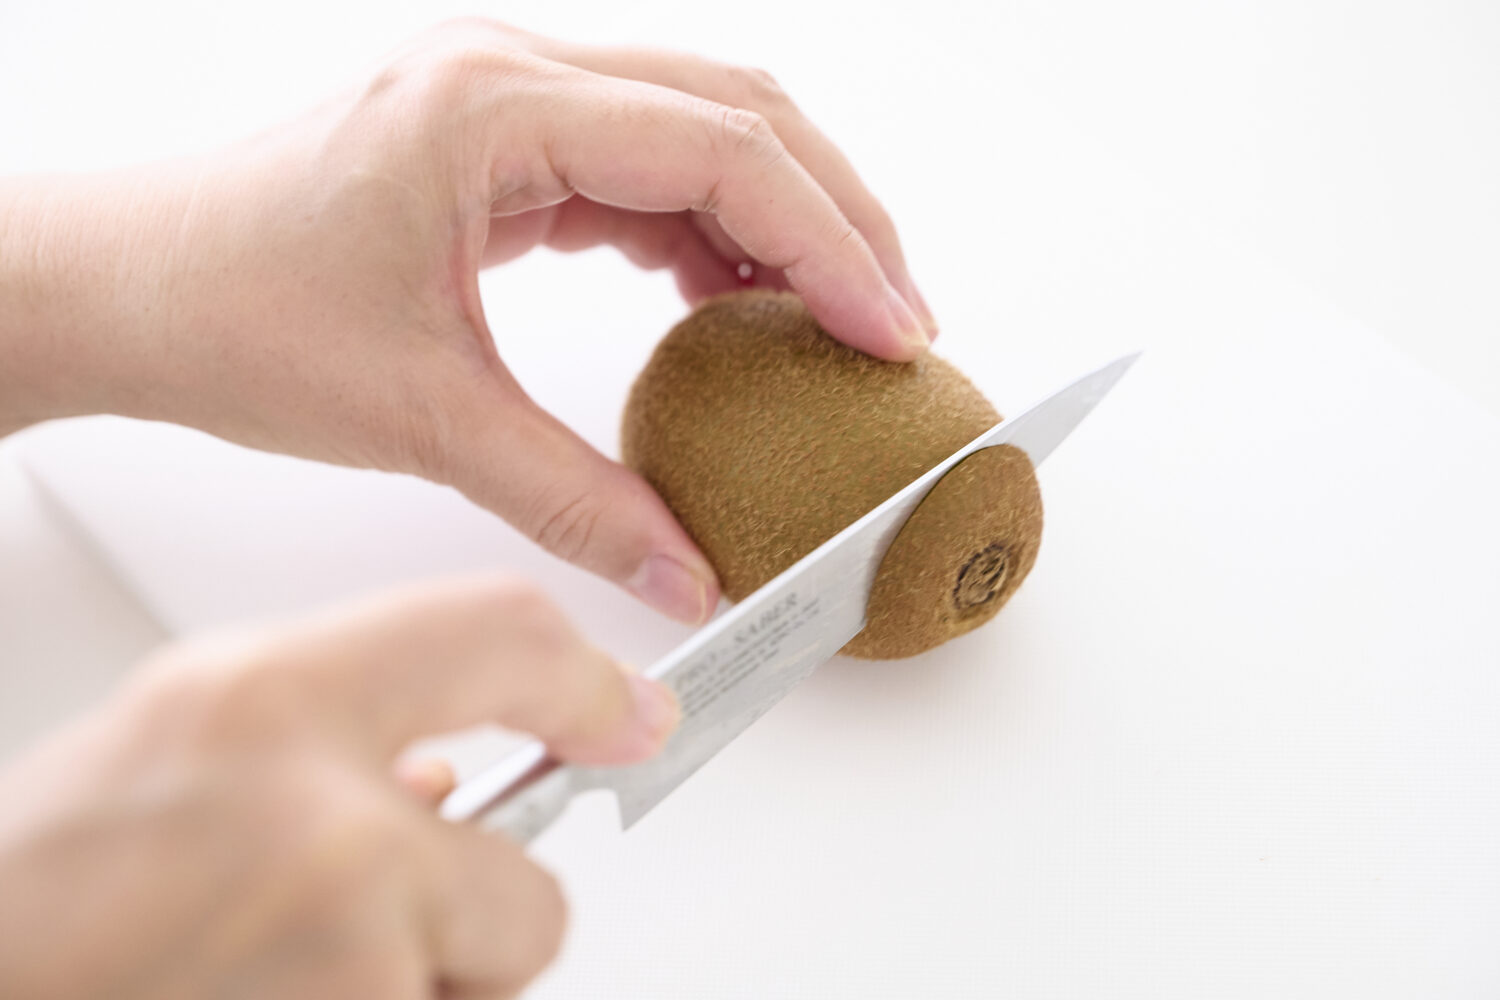
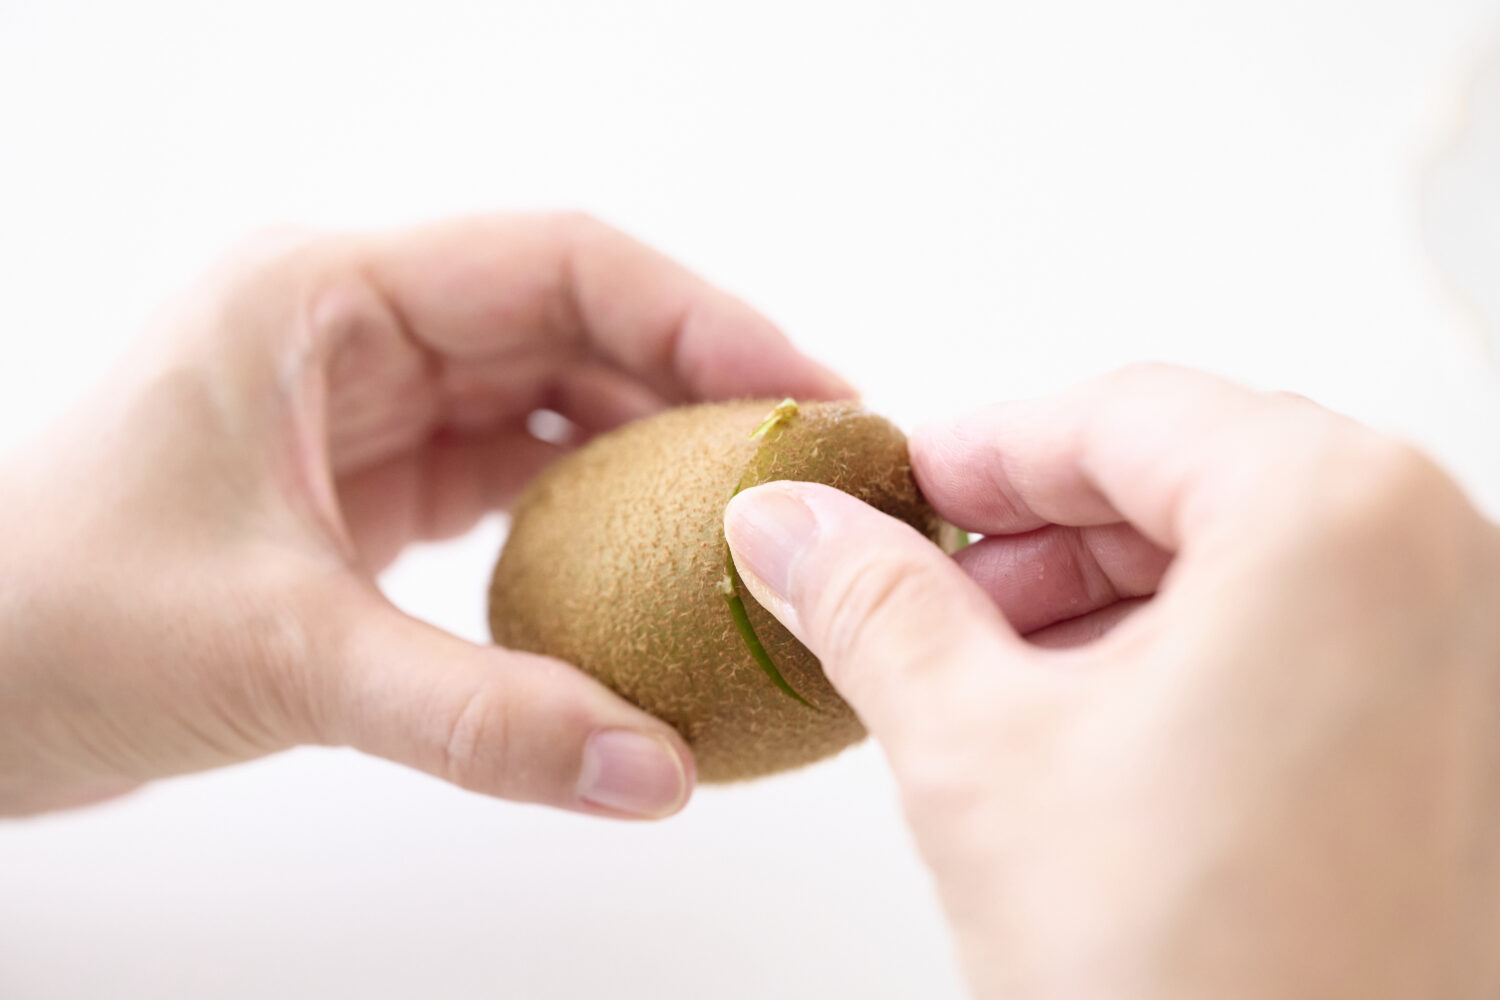
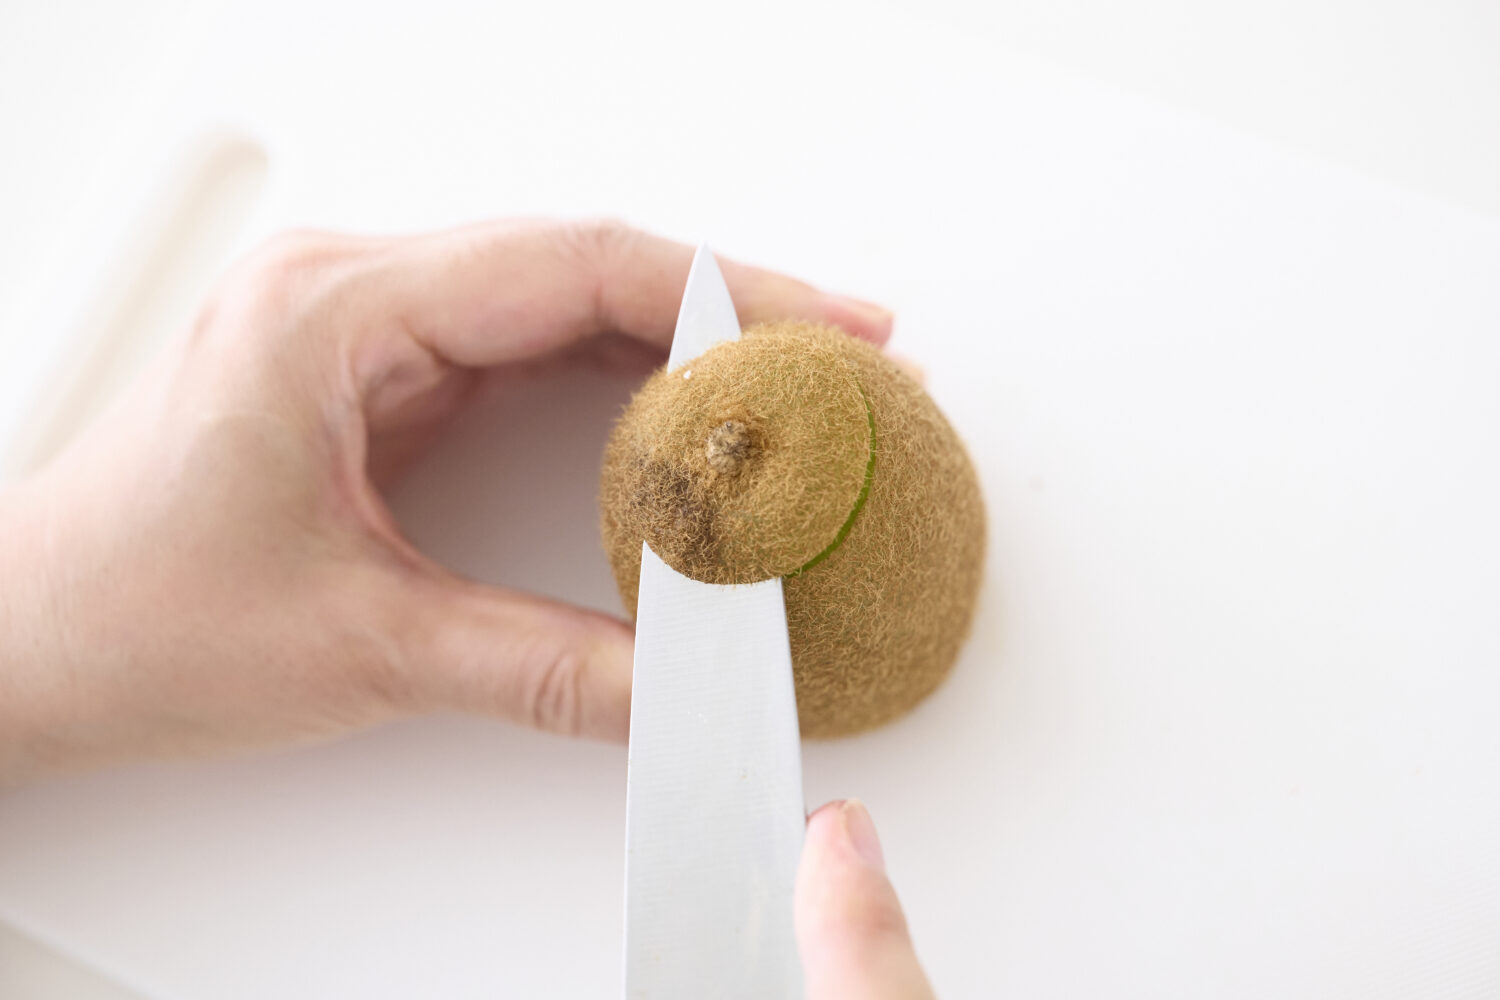
Make a V-shaped cut all the way around the middle of the kiwi using a knife. Insert the tip of the knife so that it reaches the center of the fruit. Adjust the angle of the knife carefully to make a neat circle—this angle greatly affects the final presentation, so take your time!
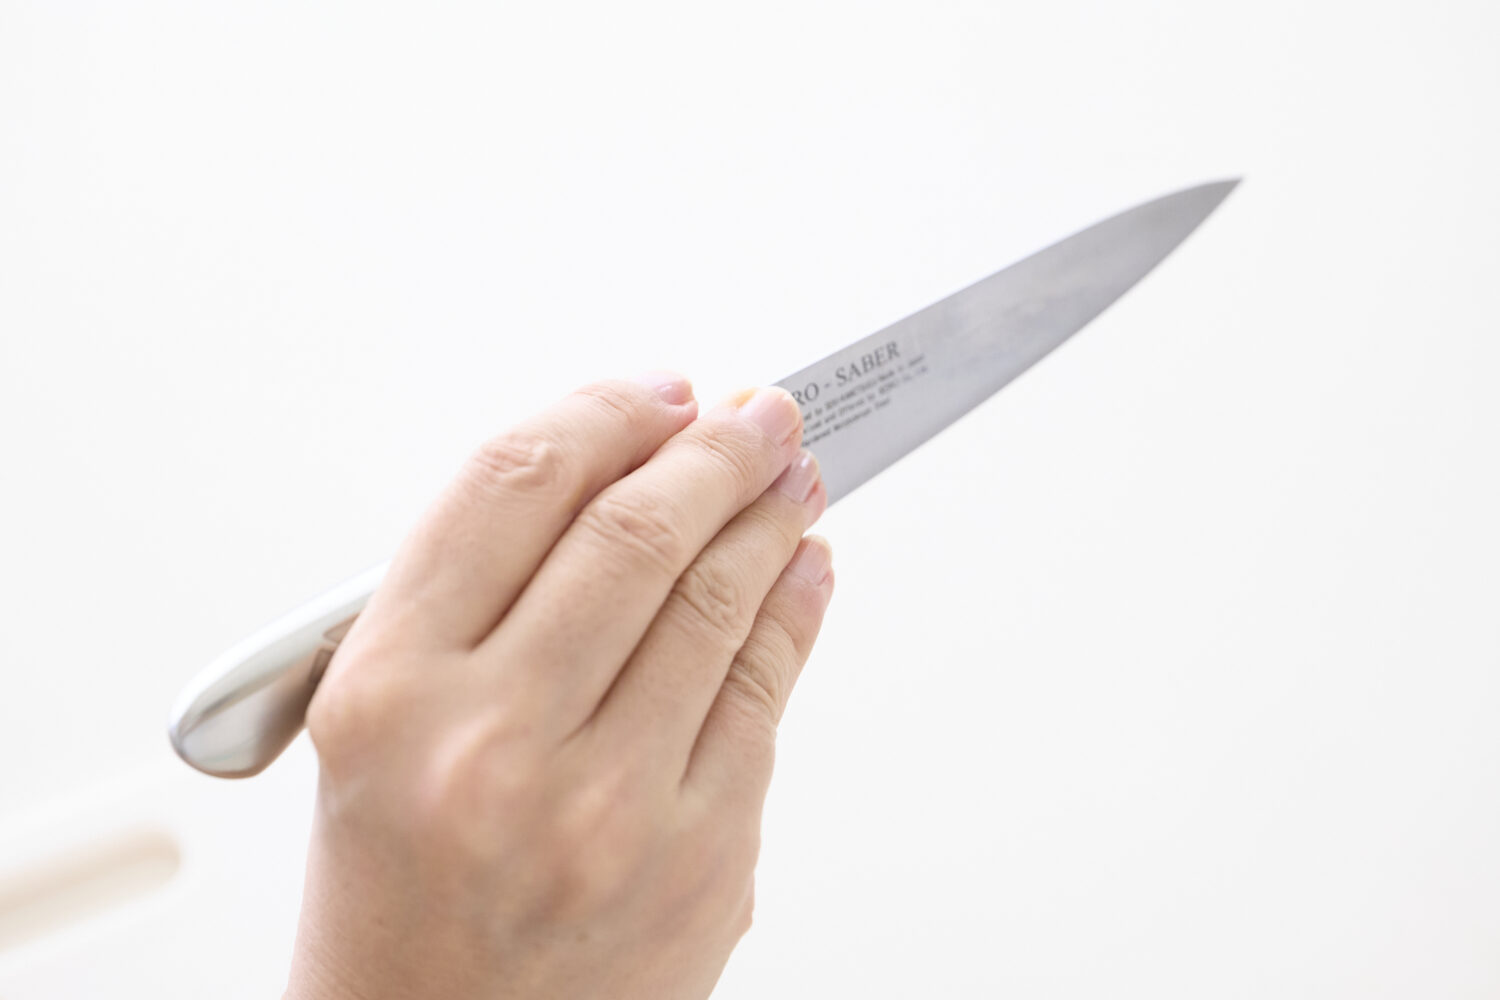
Hold the knife like you would a pencil!
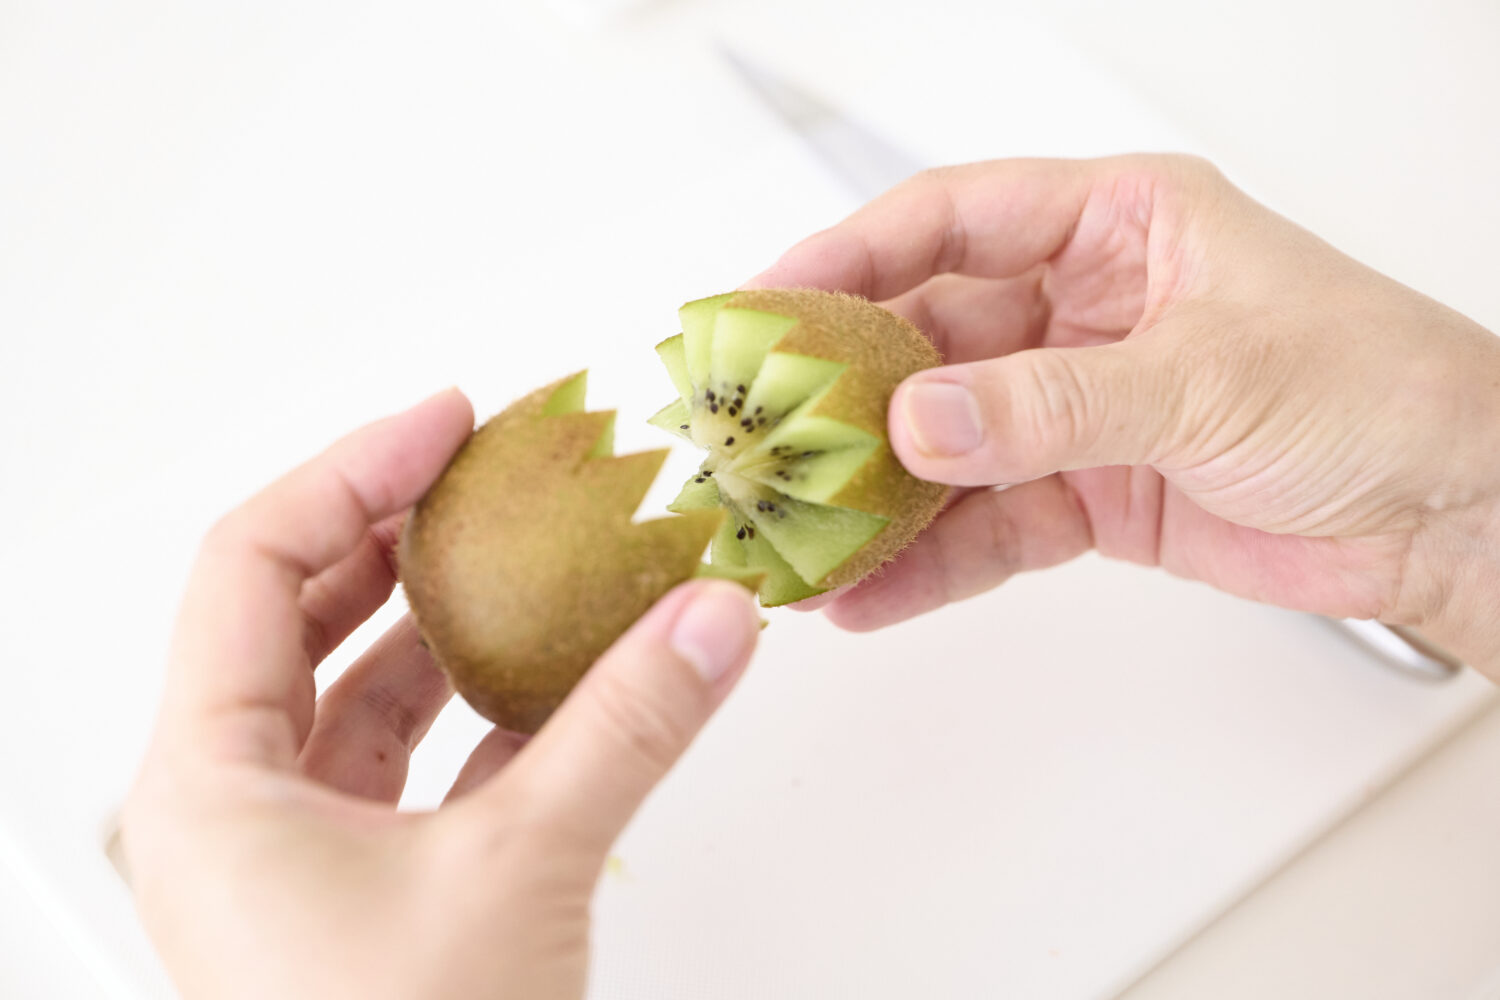
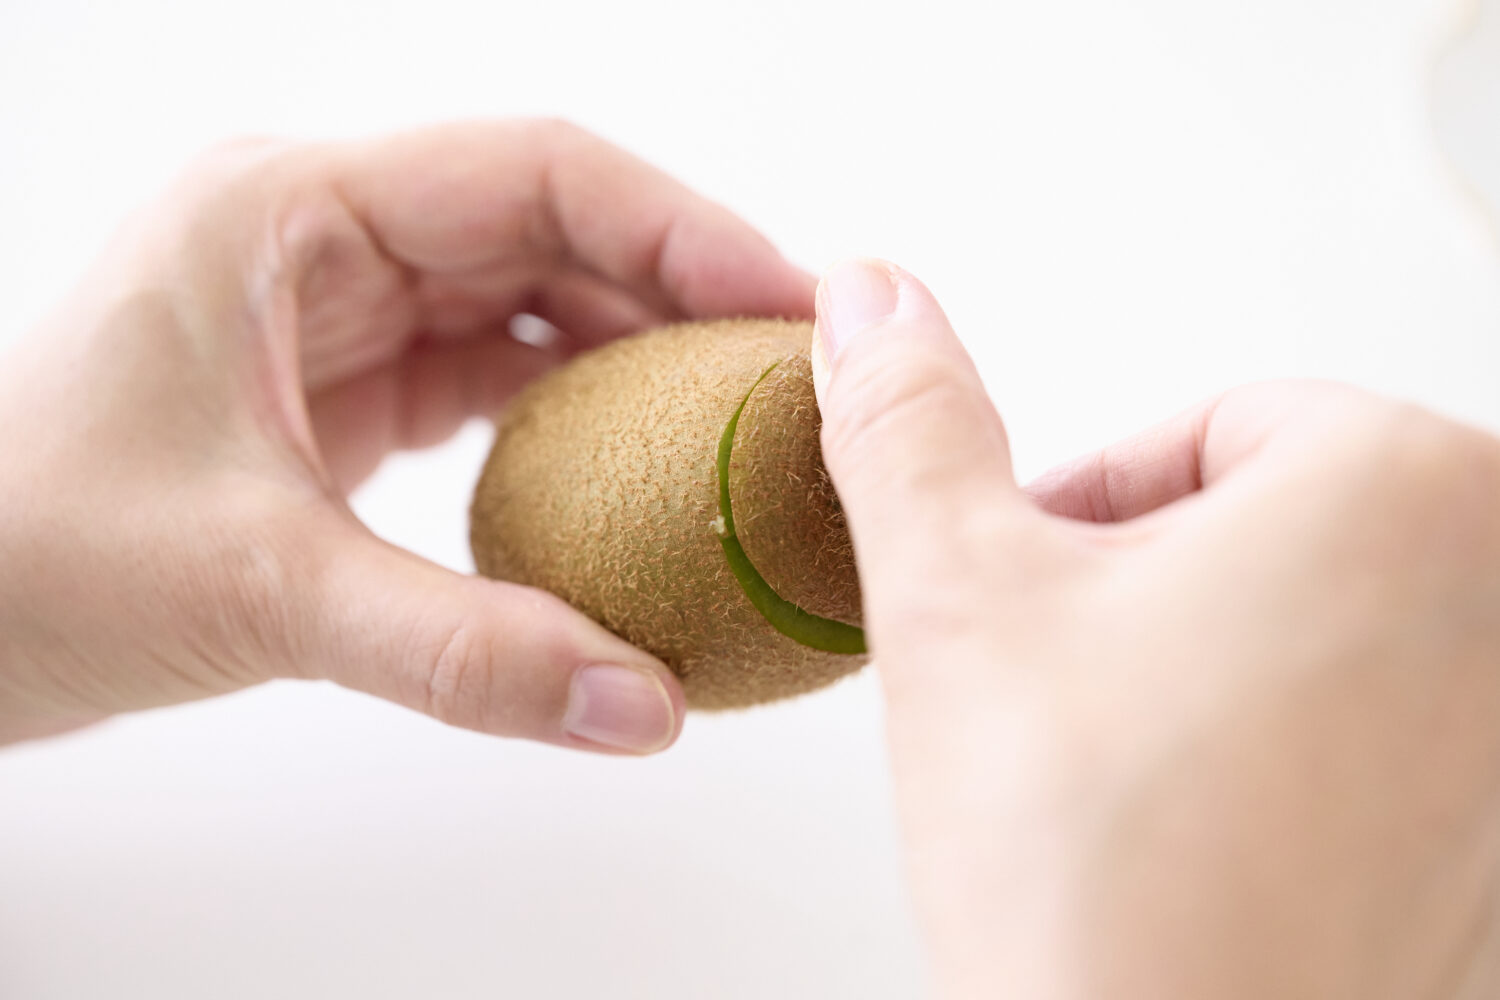
Once you’ve made the V-cut all the way around, it’s time for the big moment…
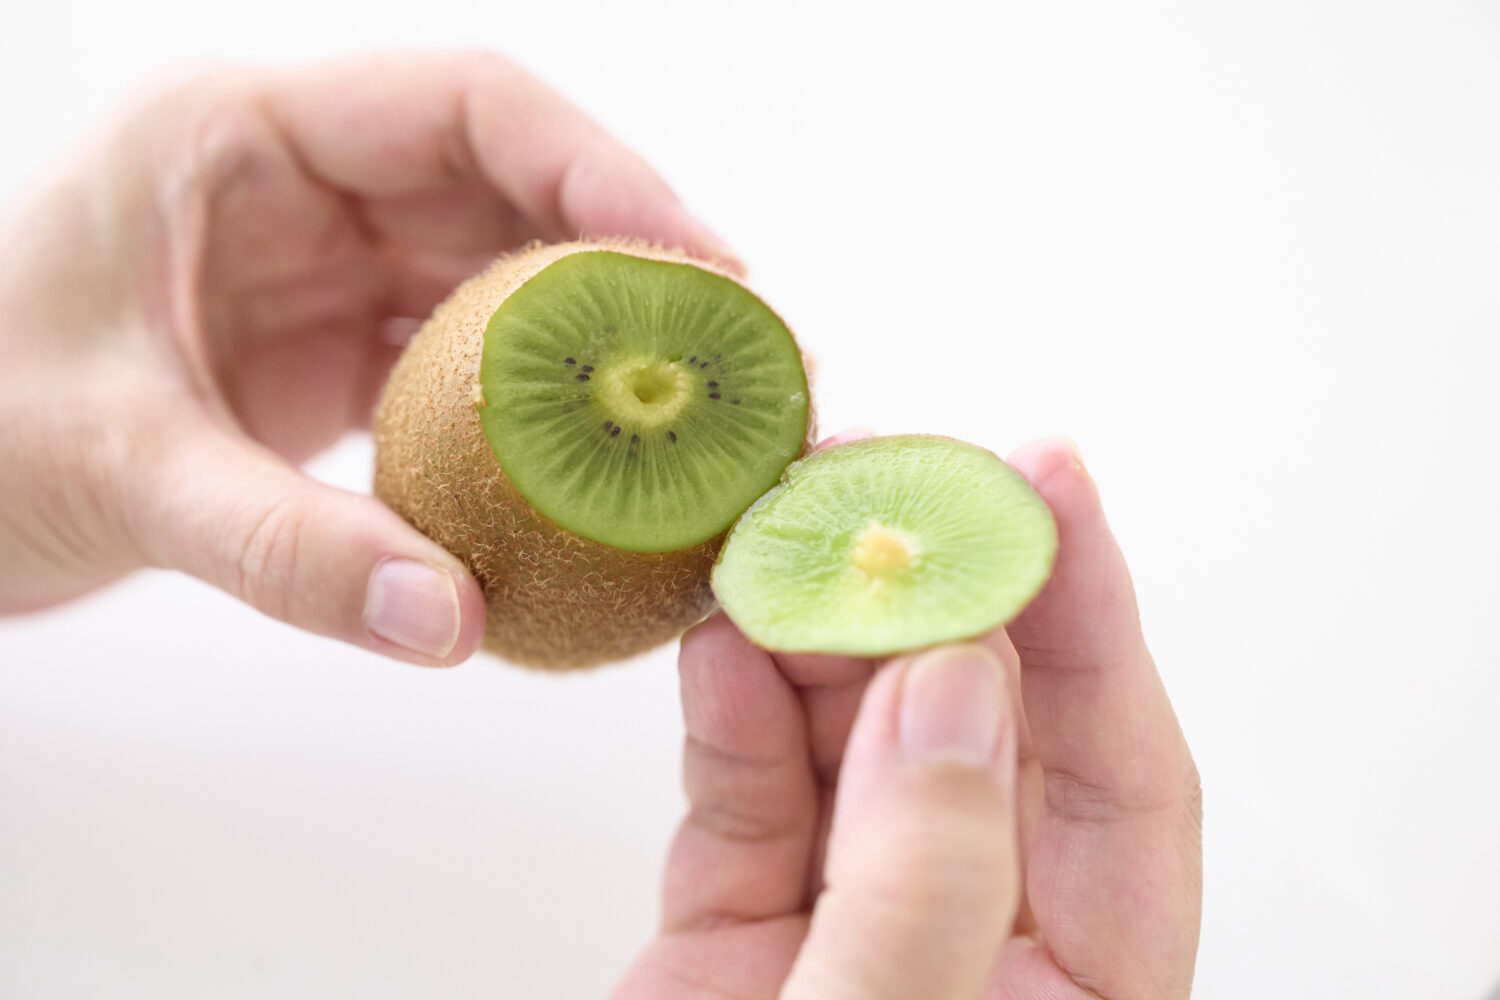
Crack it open!
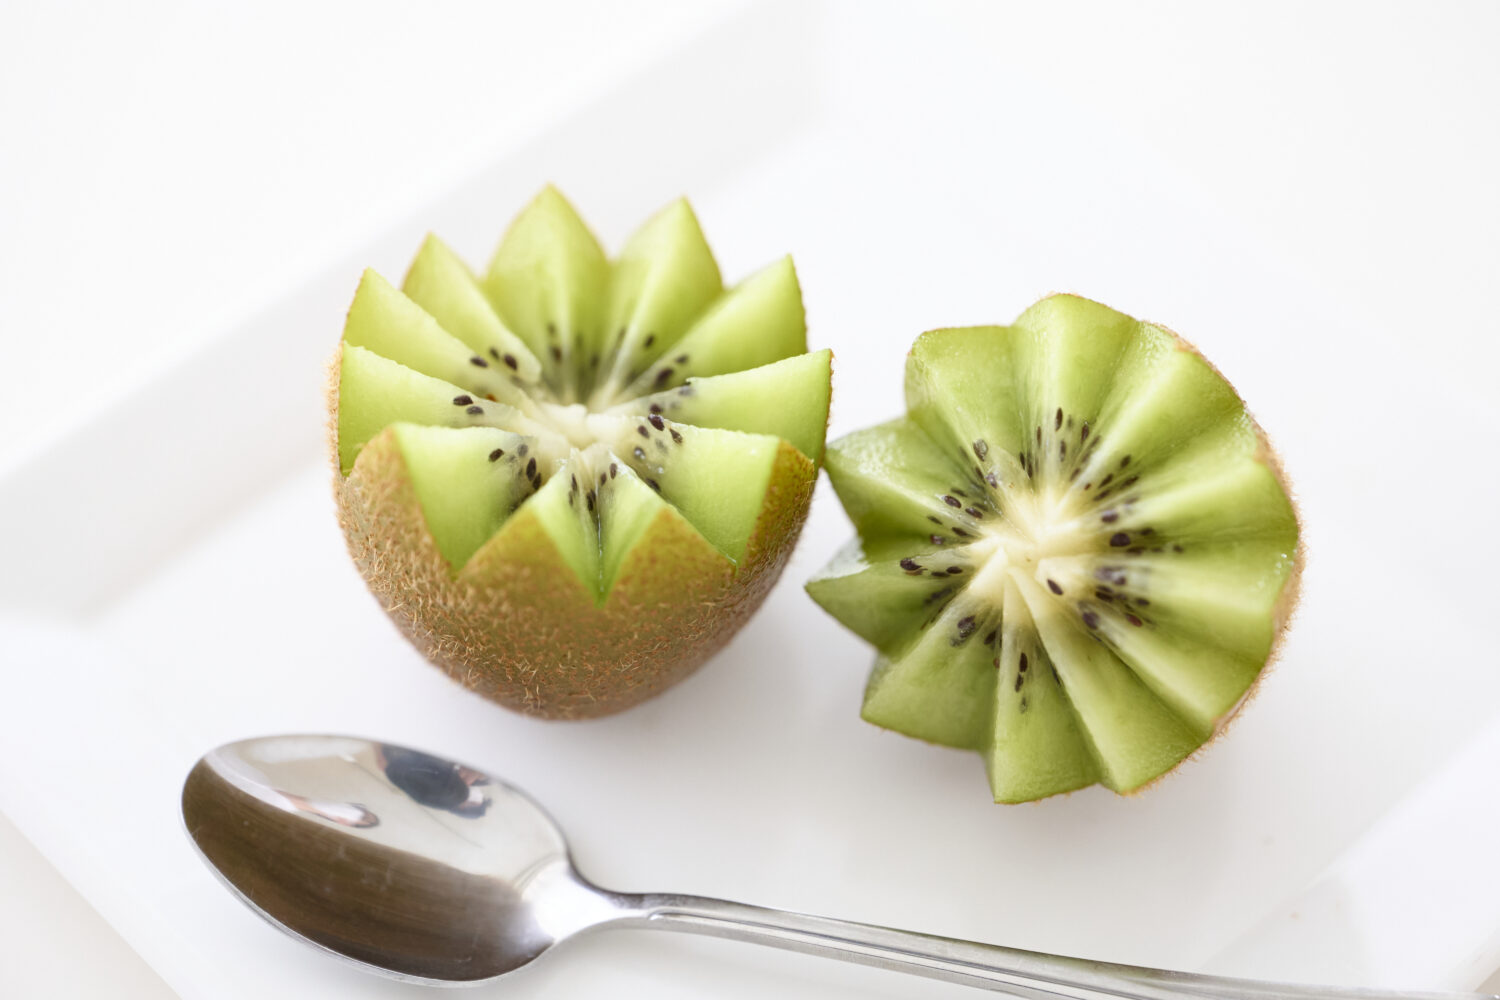
Place them on your favorite plate and you’re done! The egg-like shape is absolutely adorable. Scoop with a spoon and enjoy!
There’s nothing particularly complicated about it, but simply changing the way you cut it adds a touch of special charm. Here’s another simple yet creative cutting method!
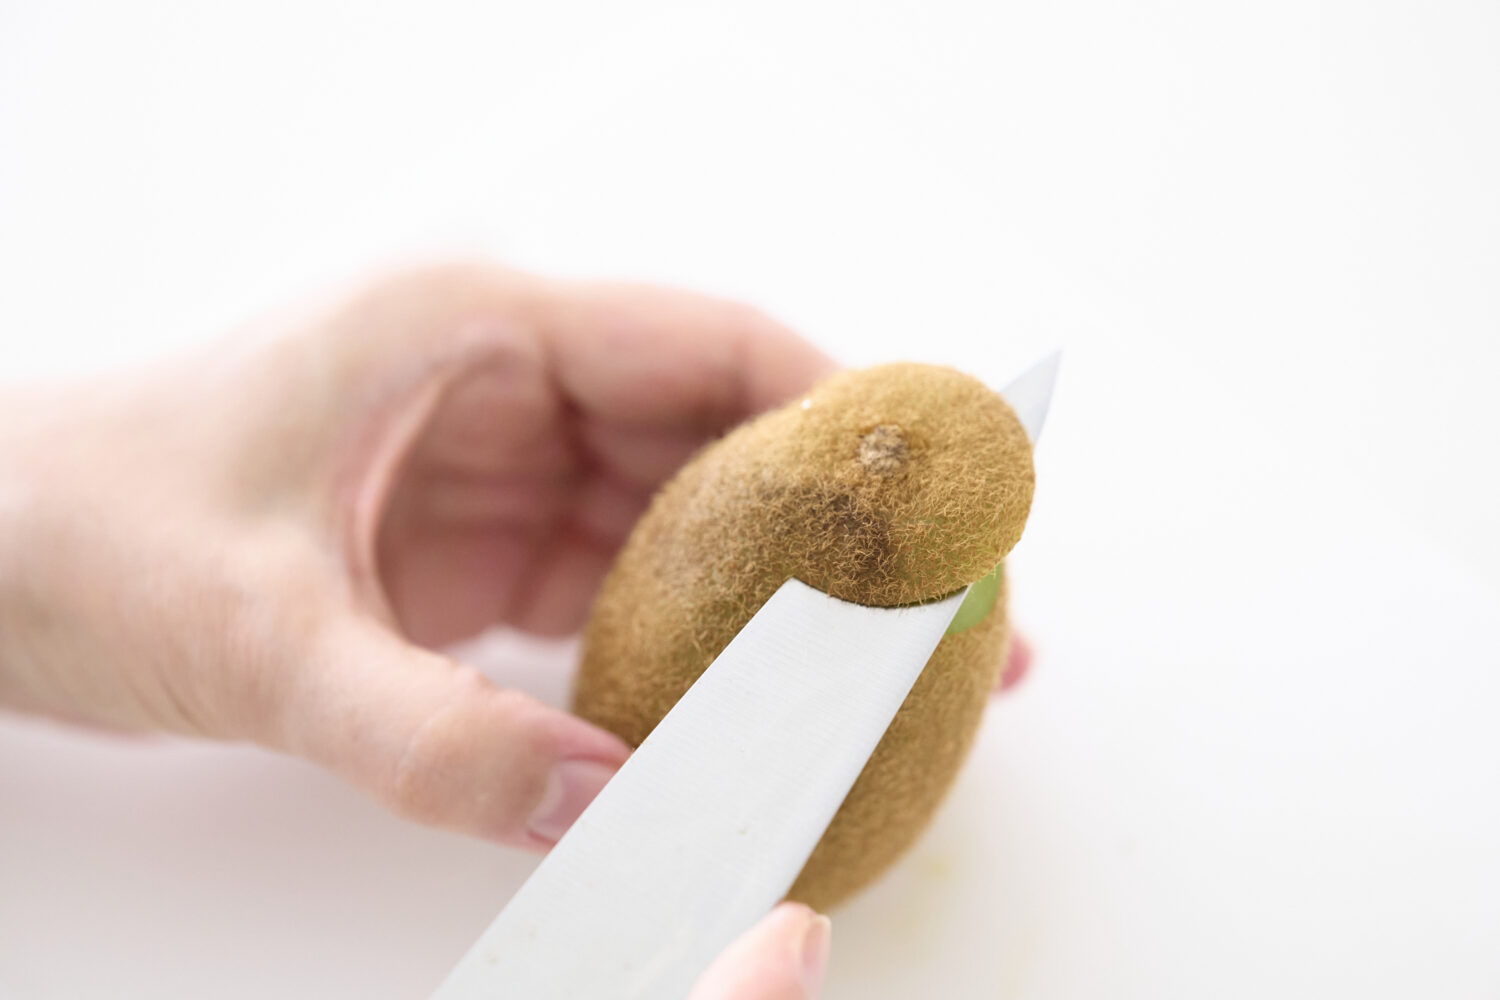
Basically, you can eat the core and seeds of a kiwi. However, the thick stem end where it was attached to the branch is tough and hard to eat. Use a knife to cut around the core by inserting it gently and rotating it in a circle.
After making the cut, twist it gently by hand to remove the stem end cleanly.
Next, cut the opposite end. By placing the kiwi with the cut side down, it will stay stable on the cutting board. Be sure not to cut the stem off completely—this is key.
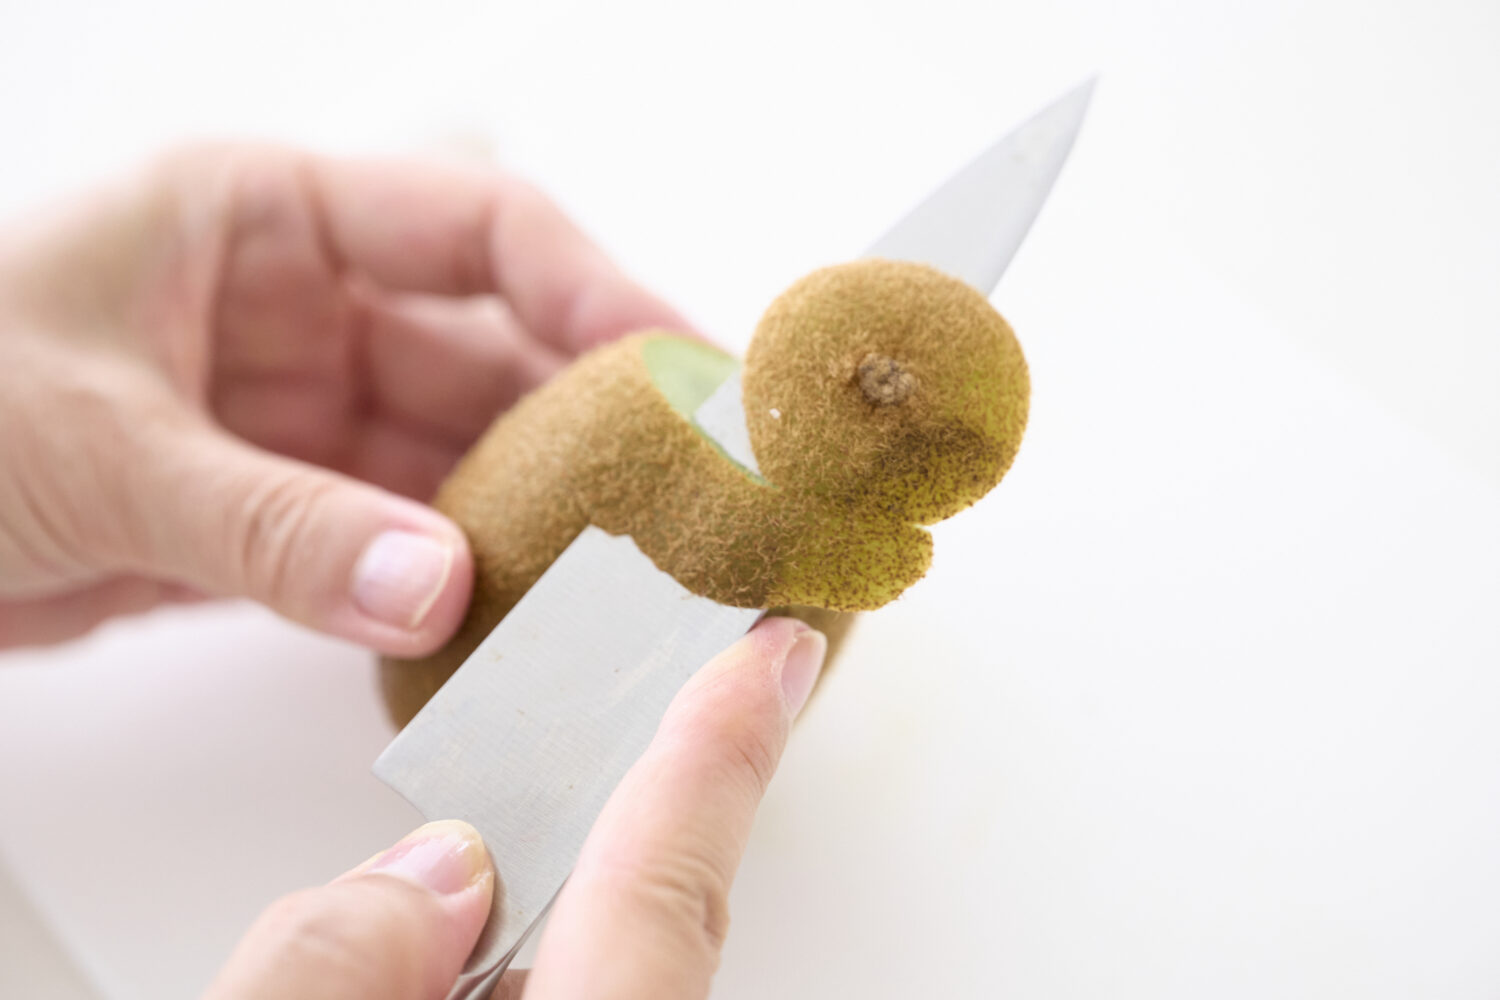
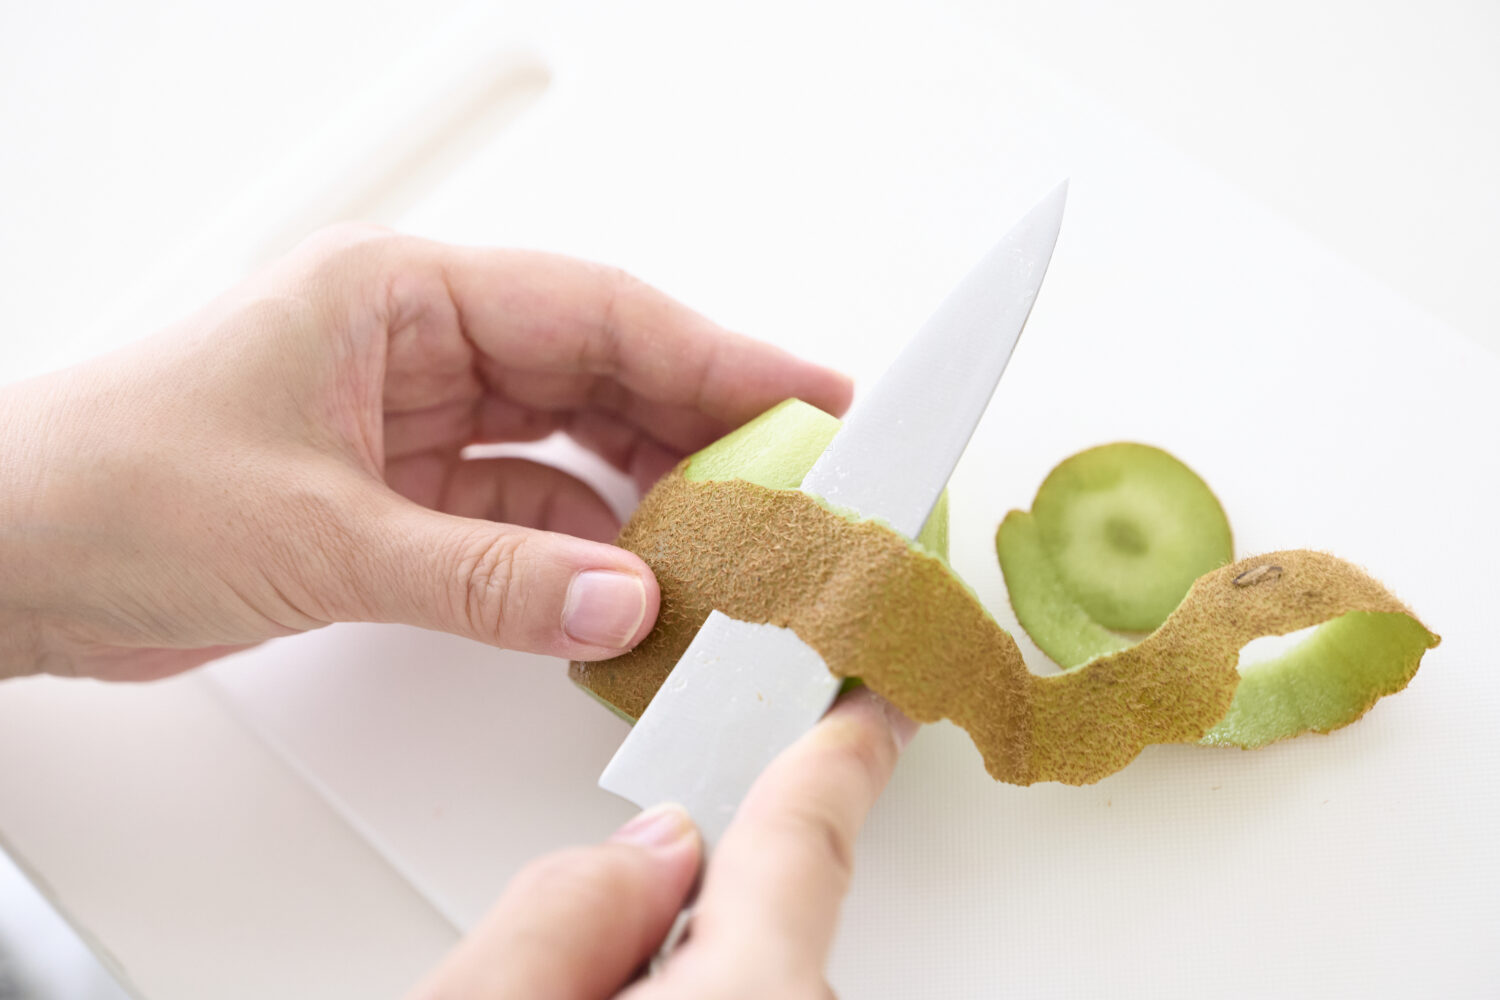
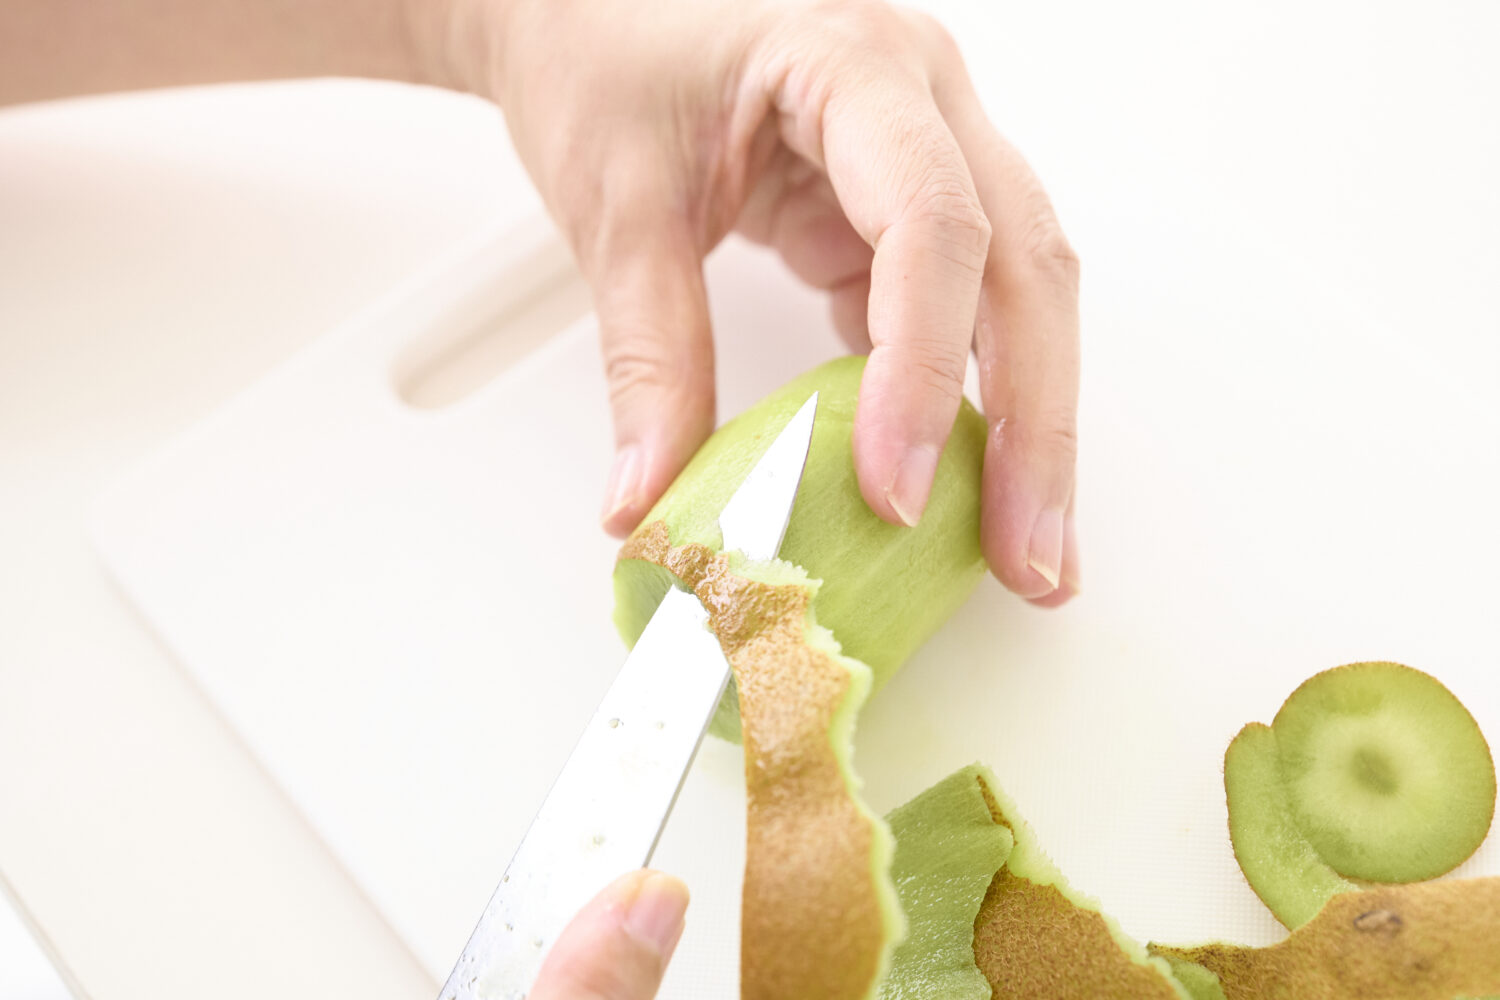
Once partially cut, tilt the knife forward without cutting through. The stem will lift up slightly. From there, peel downward while rotating the fruit.
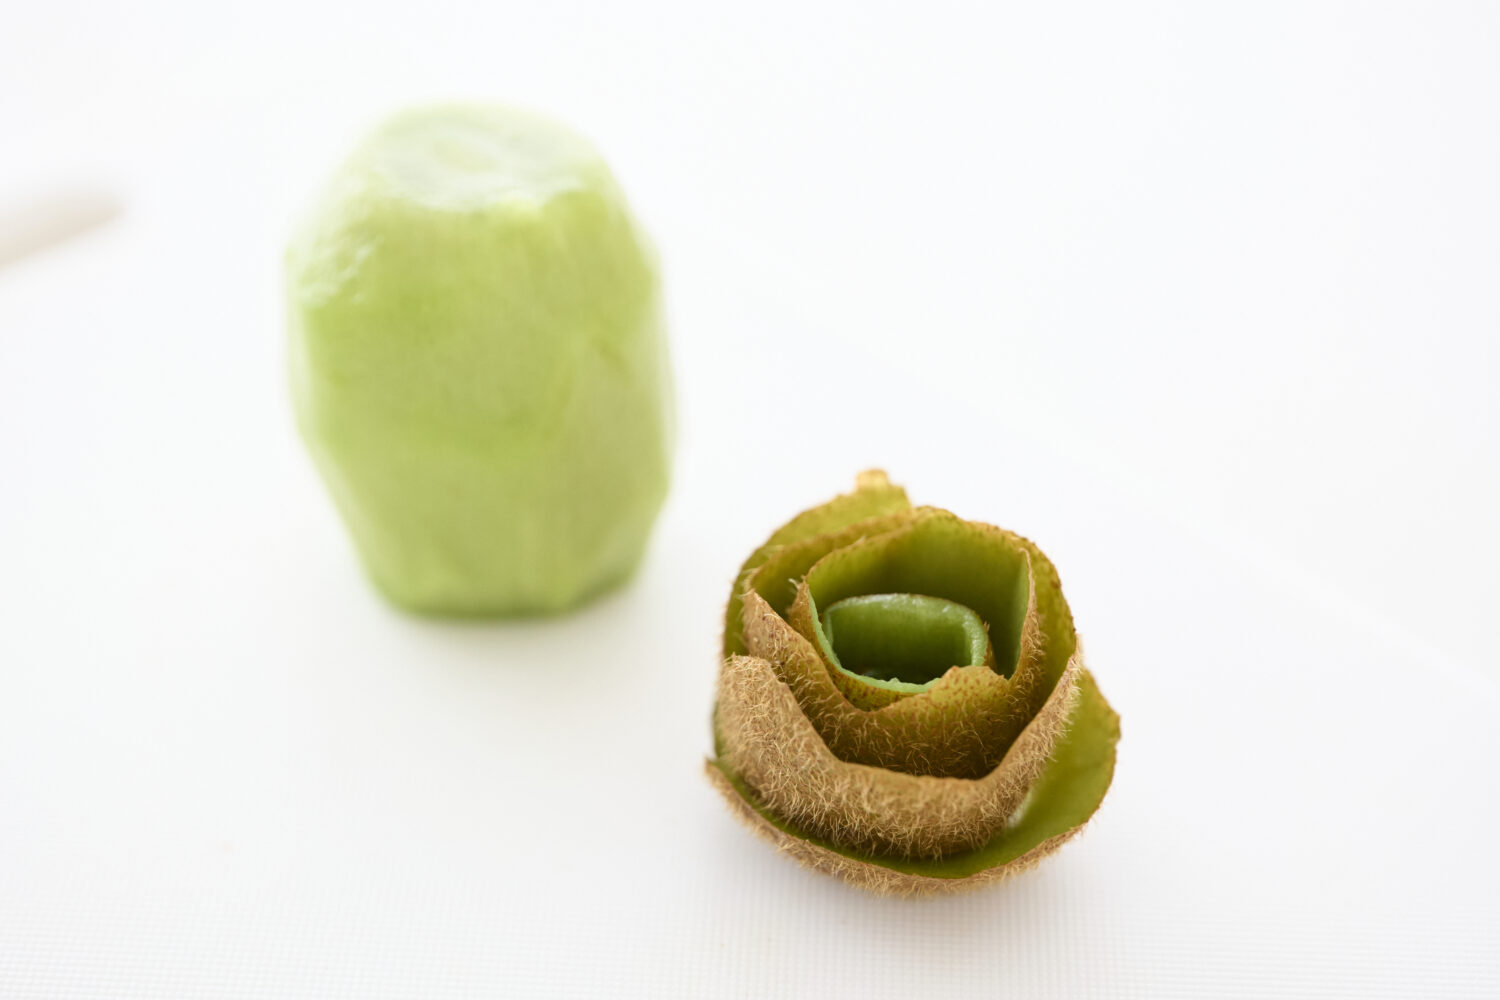
By the way, don’t throw away the peeled skin—you can roll it up to make a rose for decoration. Who knew such an easy way to add a fancy touch!
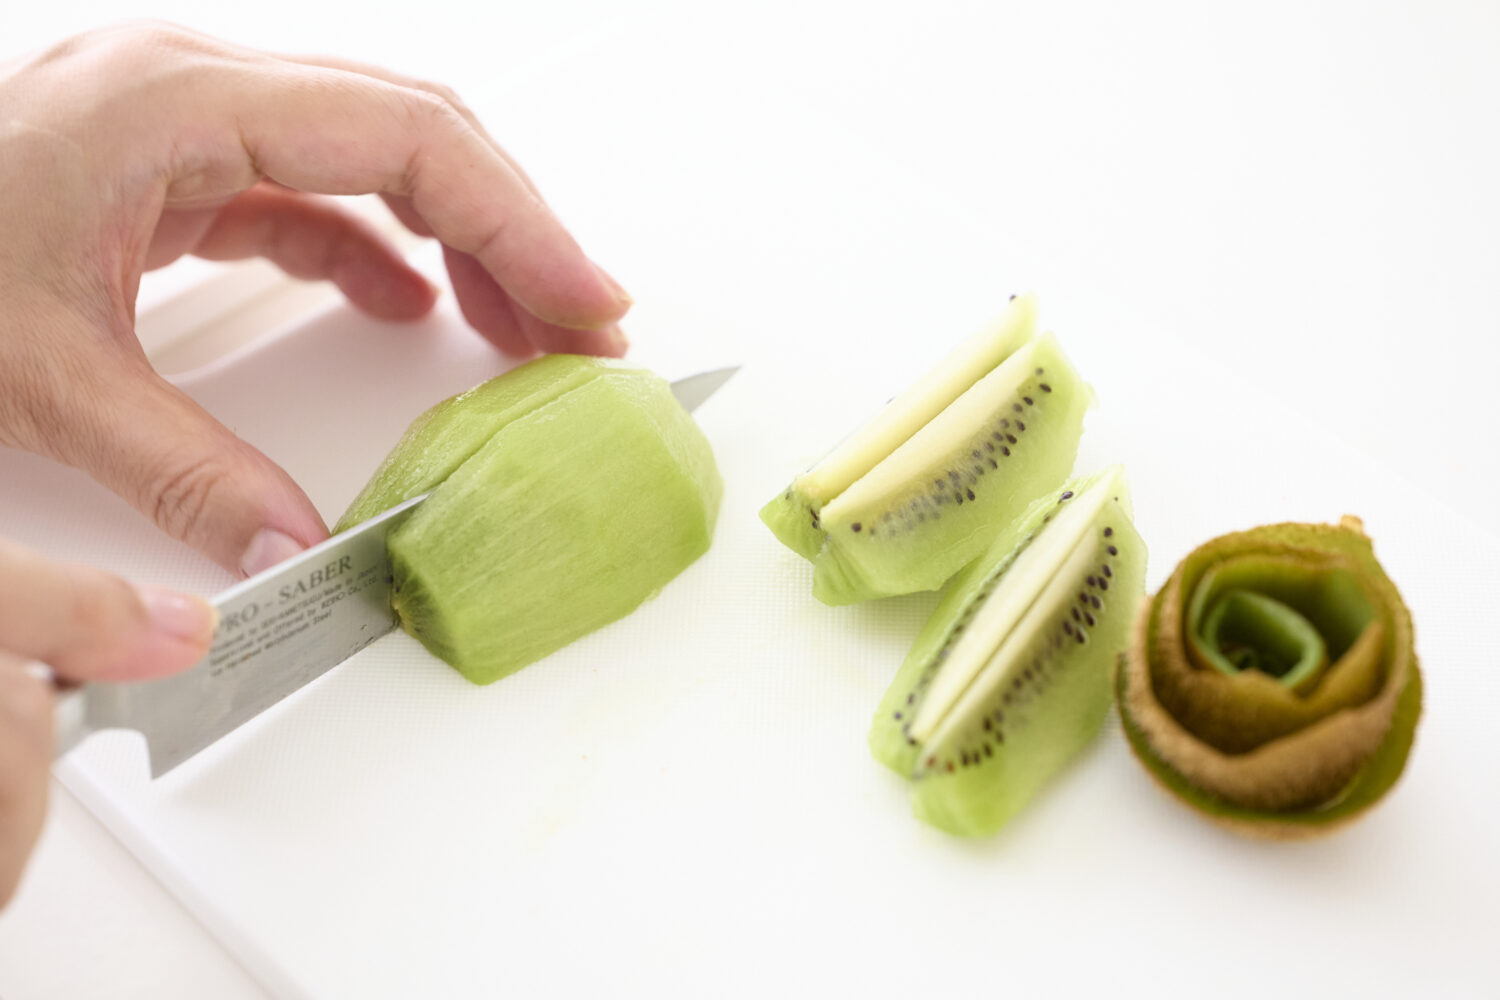
After peeling, cut the kiwi into wedges. Simply cut it in half, and then cut each half into four equal parts.
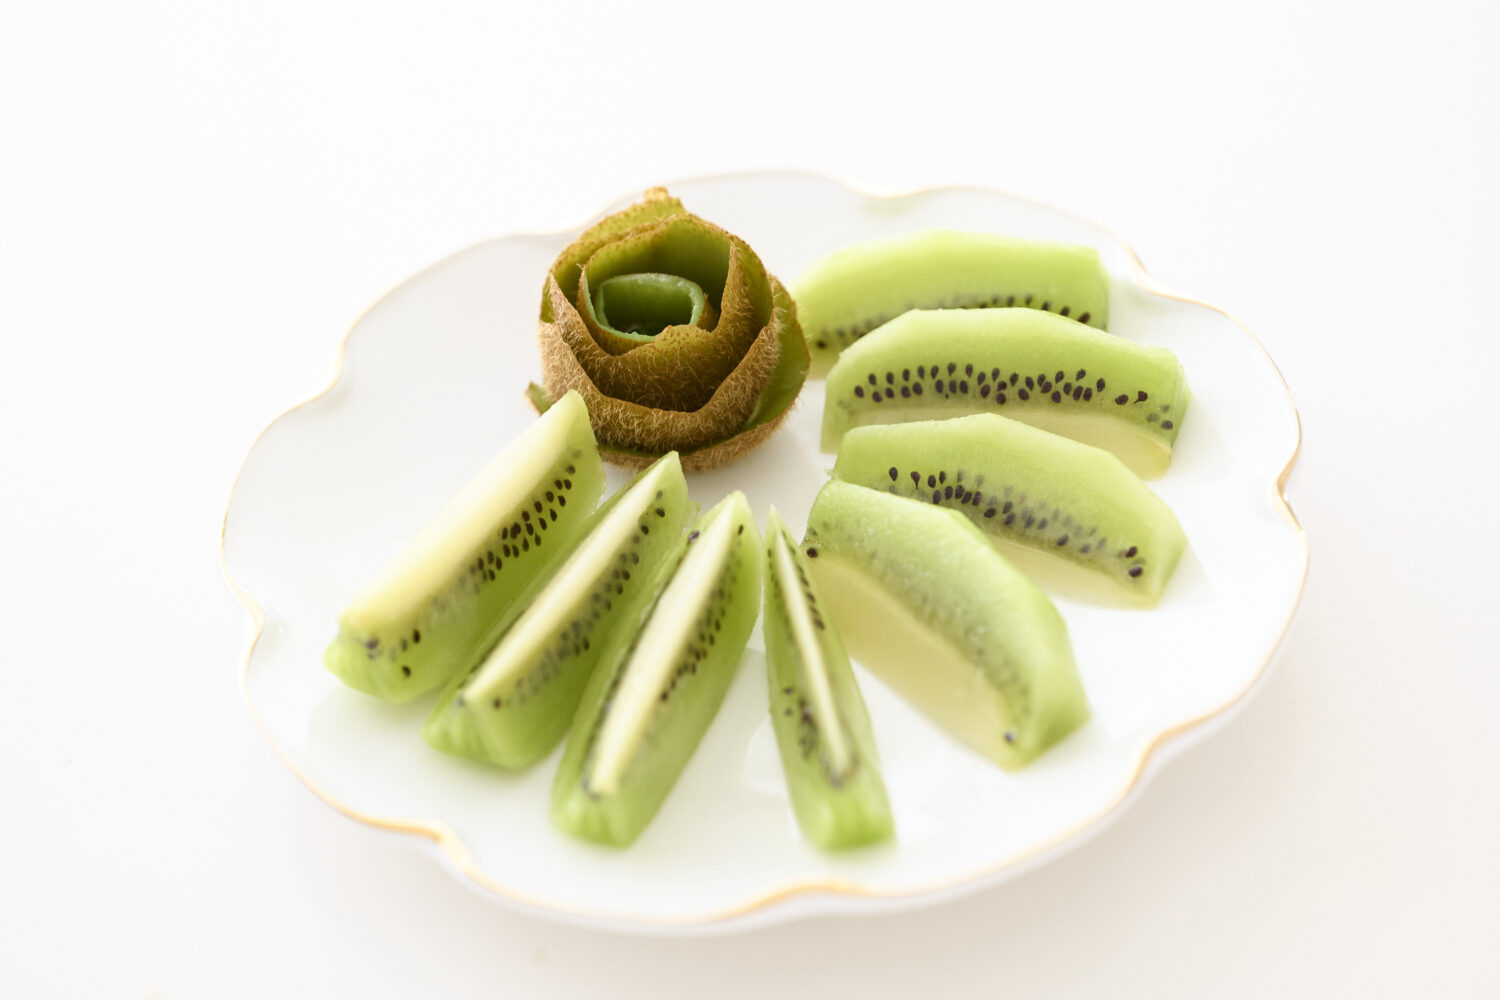
Finally, plate and you’re done! Don’t forget to add the rose made from the peel for an elegant finish.
It’s a simple technique, but changing up the cut can instantly brighten your table. I can’t wait to try it myself!

A fruit cutting class taught by fruit cutting designer Sawako Nashimizu. The class is divided into a Beginner Course and an Advanced Course, where you can learn everything from the basic techniques of cutting fruit to impressive, next-level presentation styles that are sure to wow. On Sawako Nashimizu’s Instagram, she shares photos of her lessons and beautiful cutting techniques using seasonal fruits!
*The information is based on the time of reporting or creation, and may differ from the current situation.
tags:
share:


\Follow Us/


